Ahwahnee Hotel
Ahwahnee means ‘land of the gaping mouth’ in the language of the Ahwaneechee. This beautiful hotel opened in 1927, and has provided a luxurious stay for guests since. Though in 1943, it actually served as a hospital for soldiers wounded in World War 2. Its rich history is complimented by its rich design, which features stone columns and wood tresses.
Credit: yosemite.com
Before beginning, remove all the Hotel pieces from your storage box.
You should have 25 pieces.


Step 1
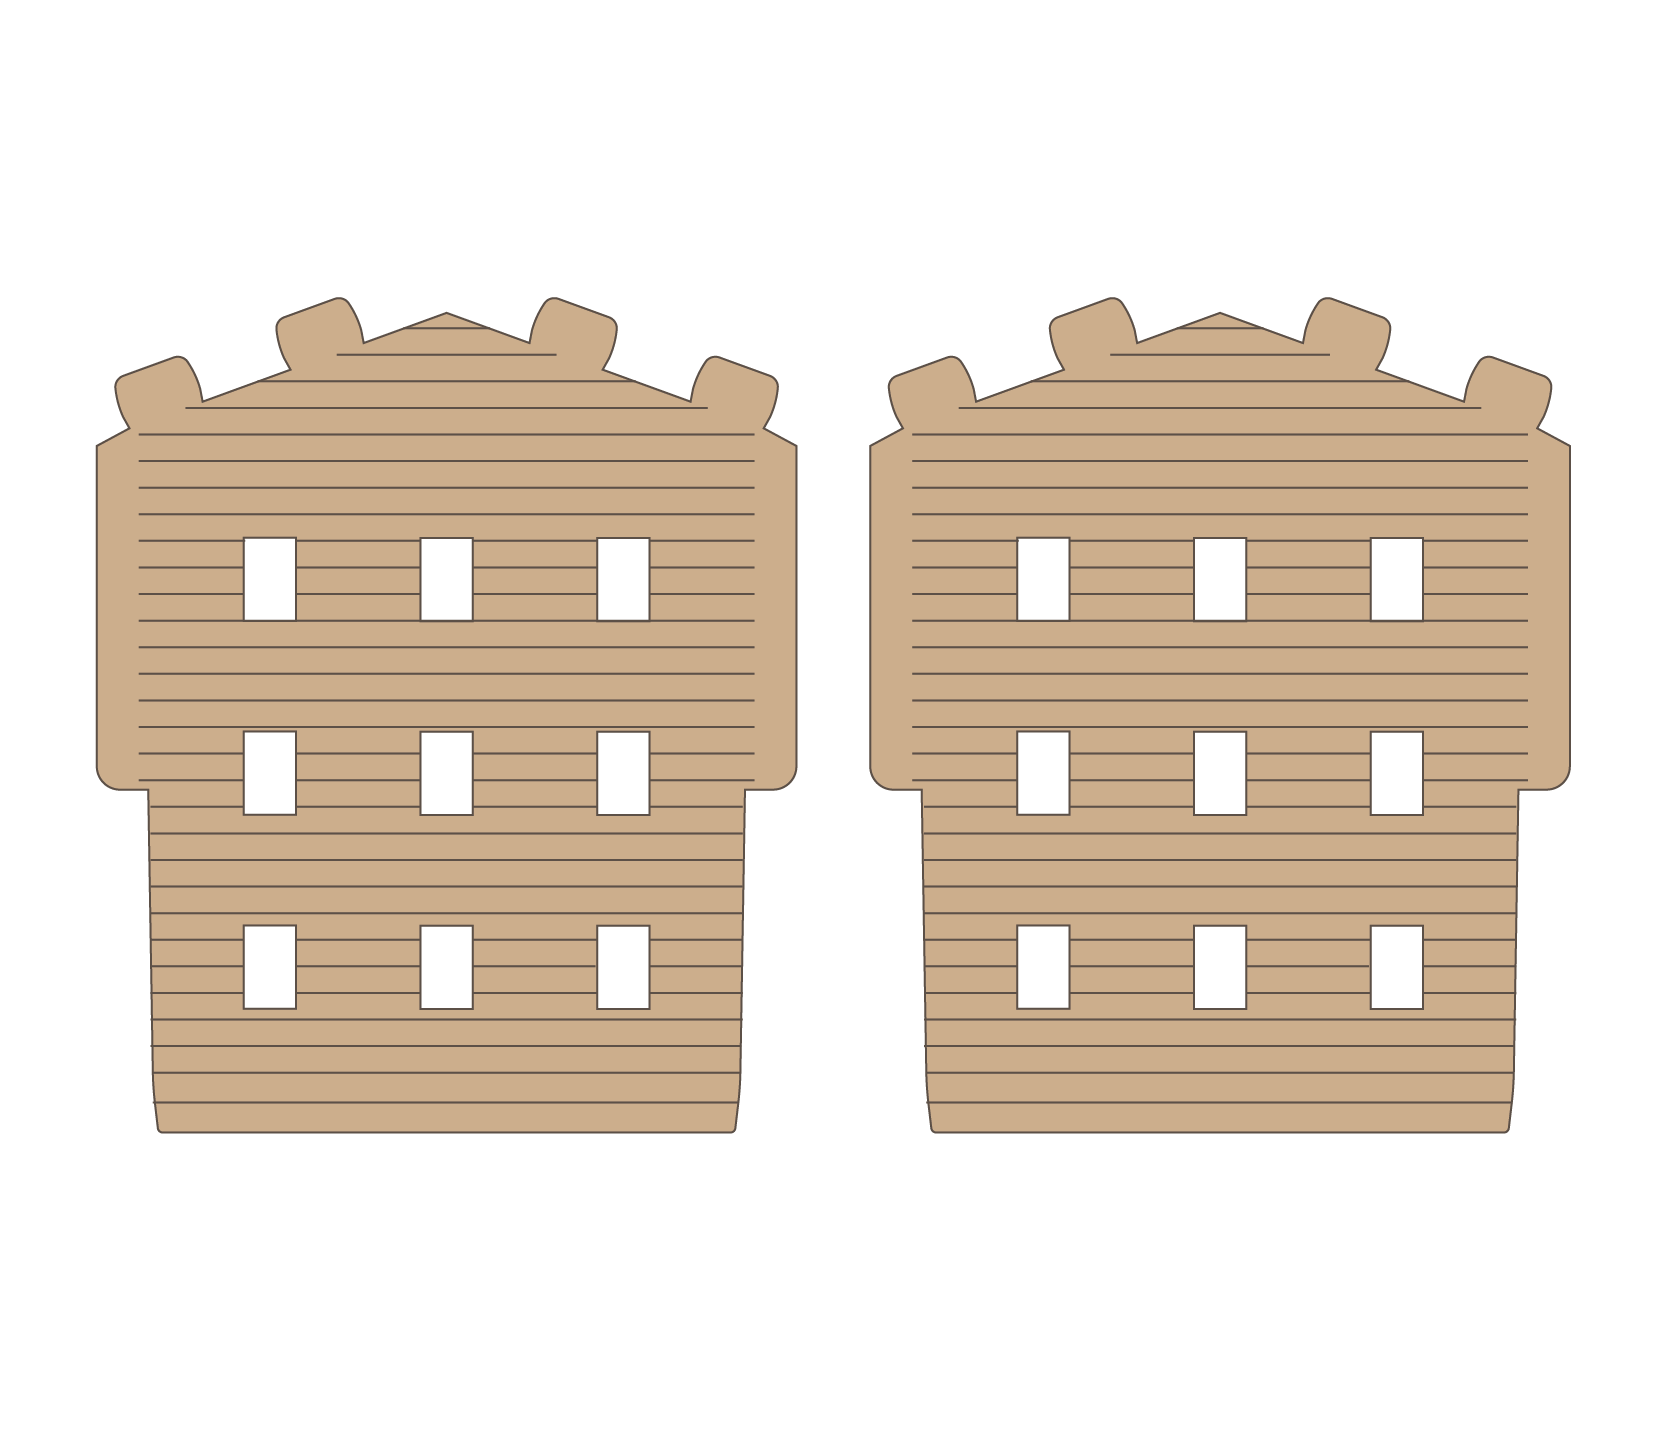
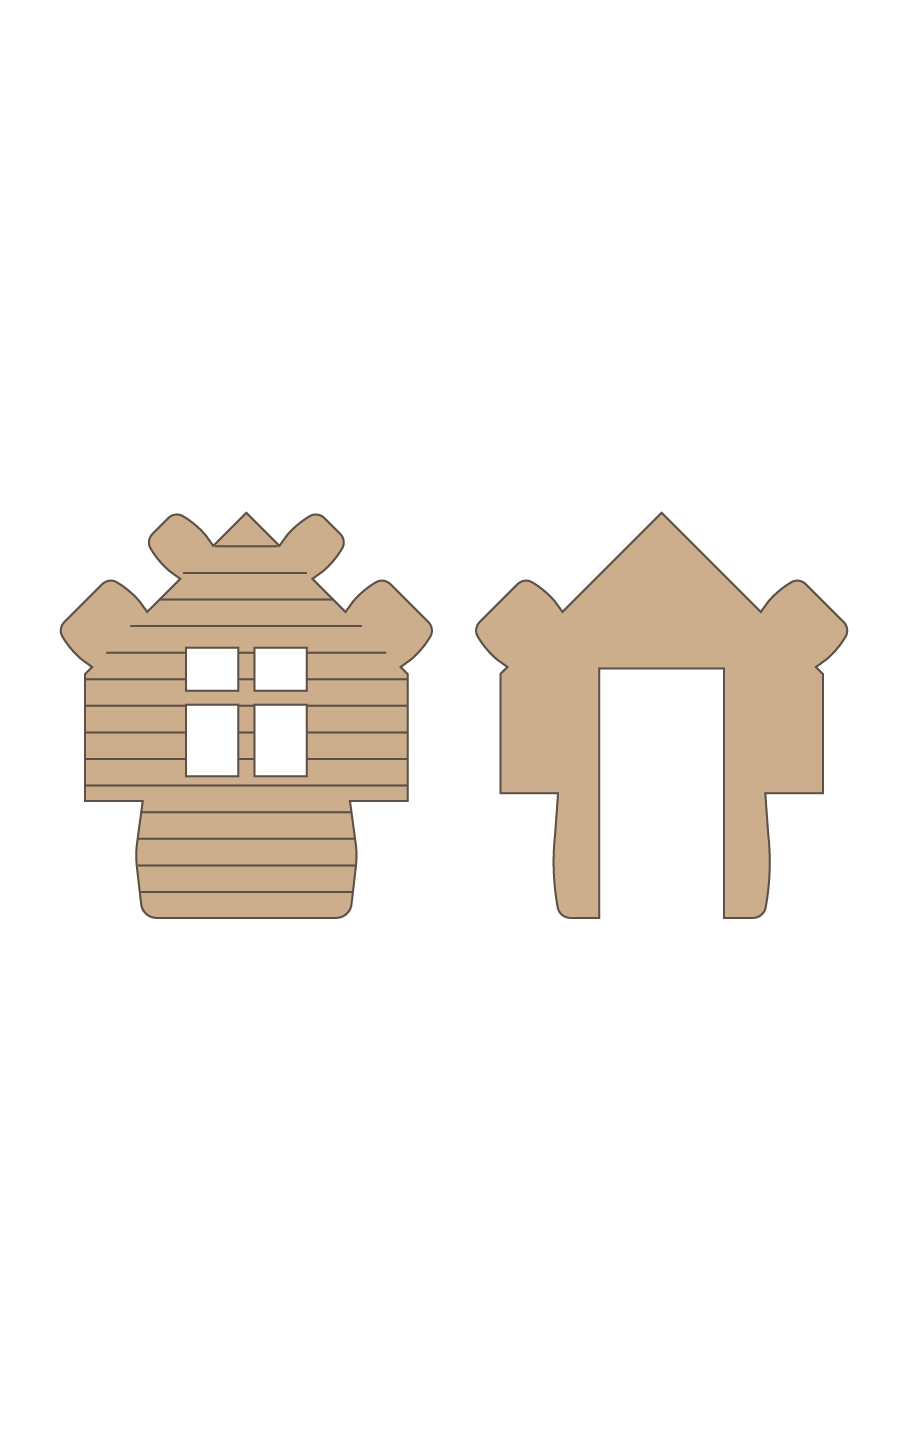
Slide each Large Side Wall onto the Rear Wall. Note that the rear wall does not have a central chimney, unlike the front wall. Use our video here to ensure you have the correct pieces and locations. Always make sure to face the engraved details towards the outside.
Parts needed: Large Side Wall (x2), Rear Wall
Step 2
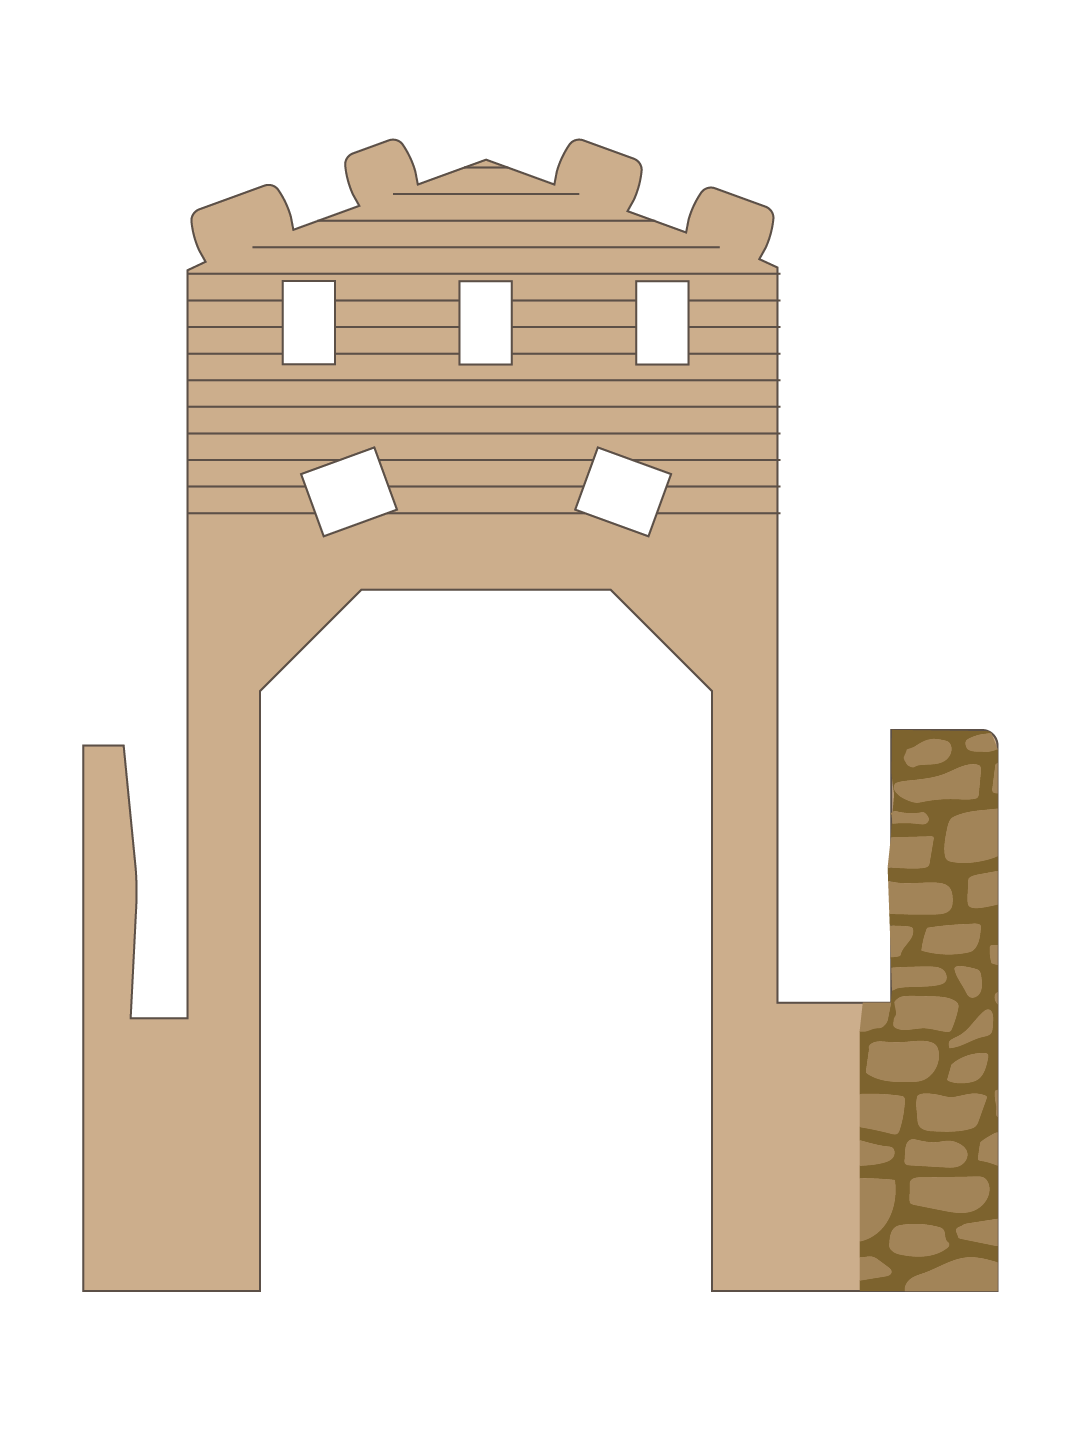
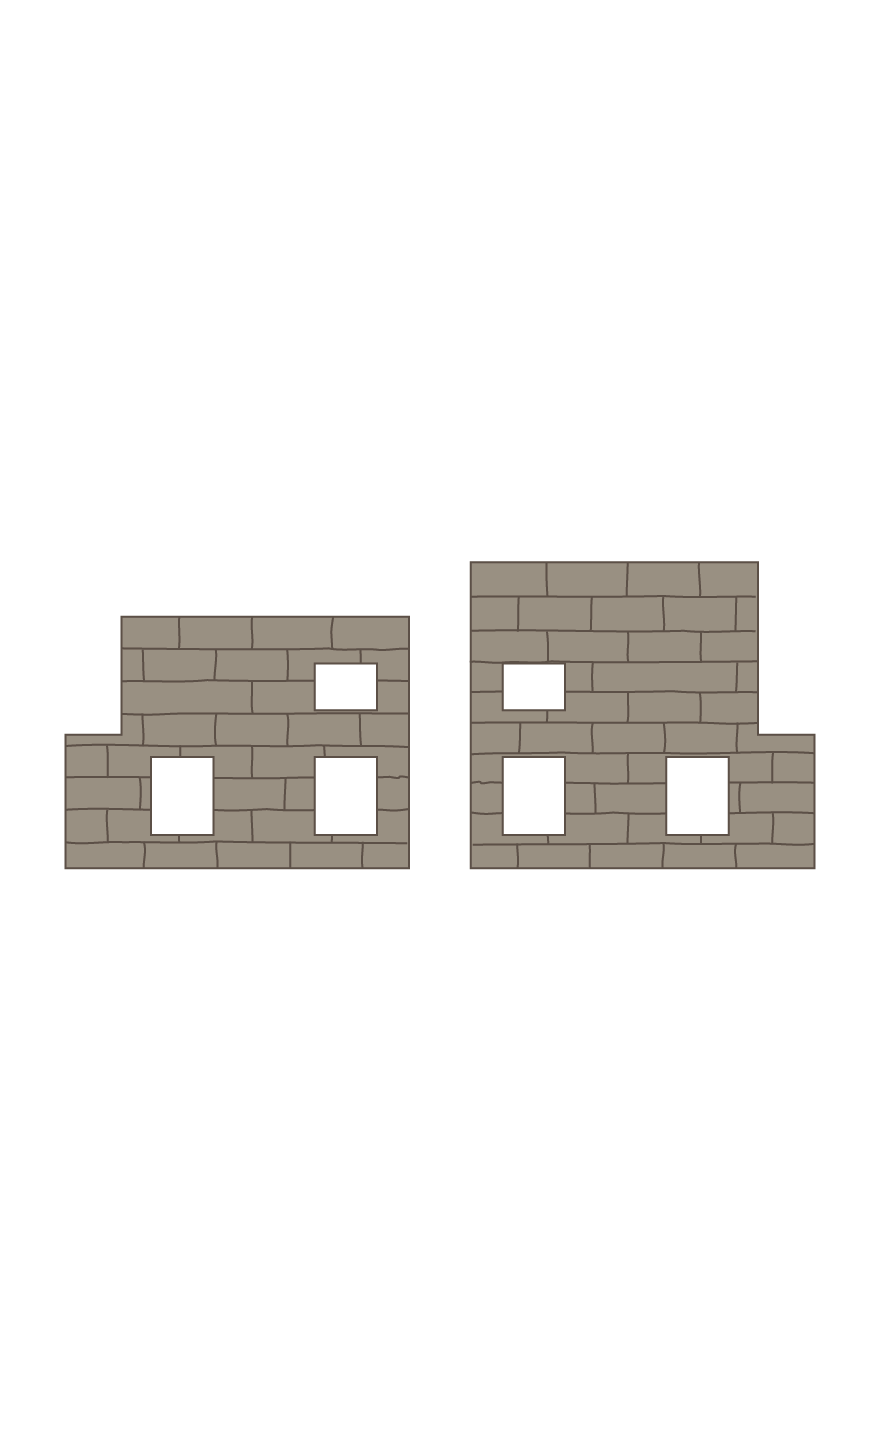
Slide both the Front Wall and the Front Stone Wall onto the large side pieces. The slot is double wide to fit both pieces.
Parts needed: Front Wall, Front Stone Wall

Step 3
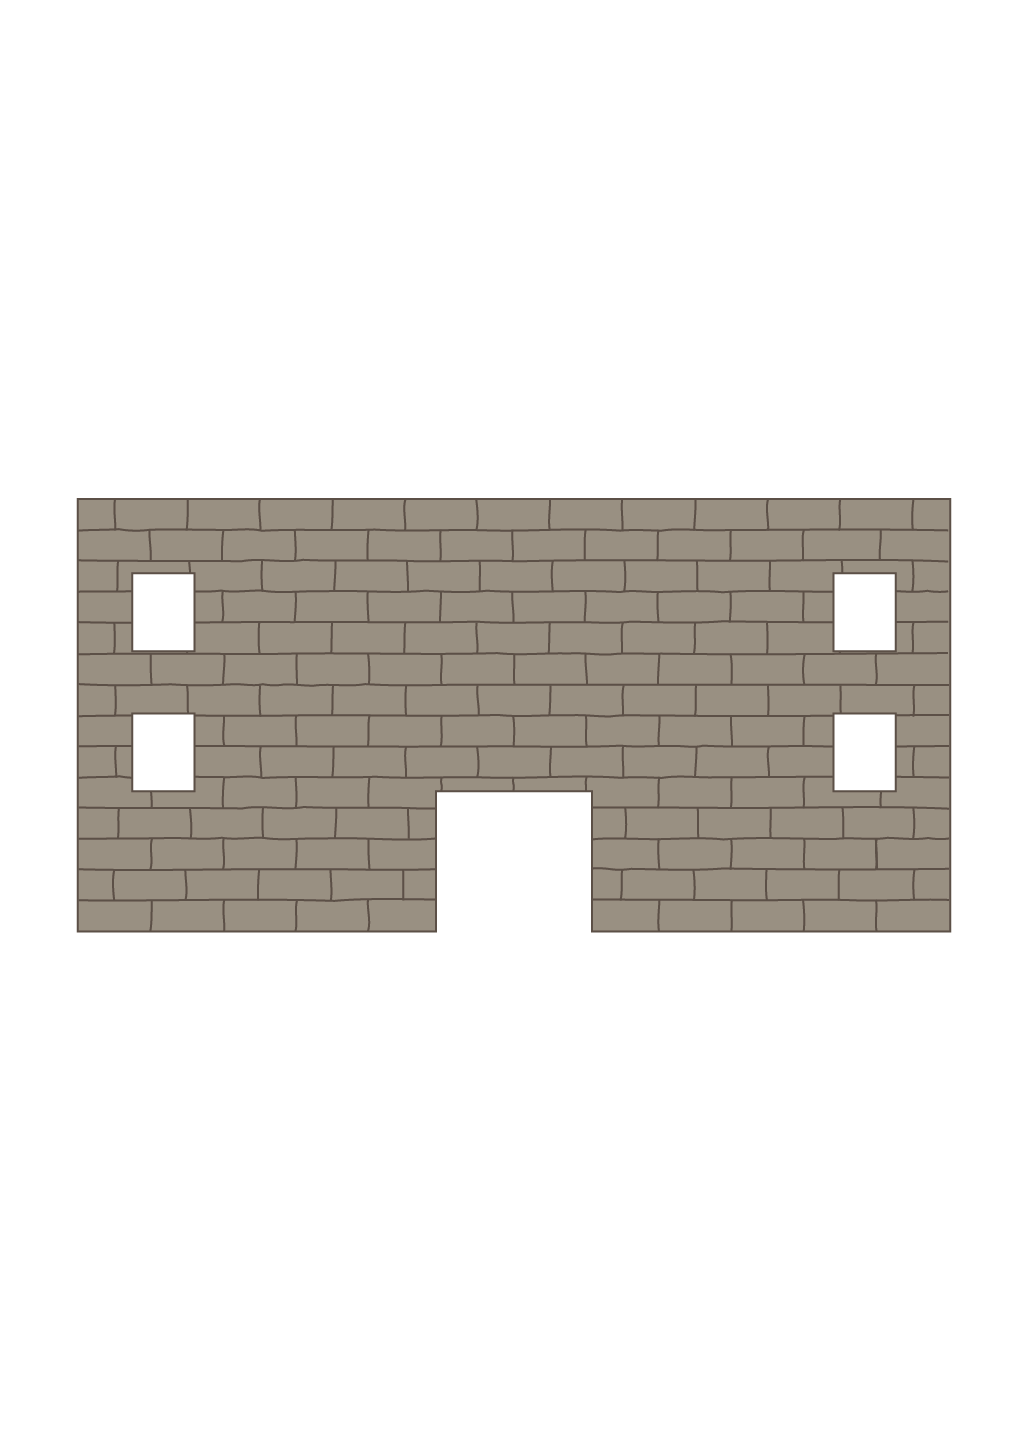
Slide the two Small Side Wall pieces onto each end of the building.
Parts needed: Small Side Walls (x2)
Step 4
Slide the two Porch Support pieces up onto the front wall and stone pieces. The slot is double wide so it can fit onto both pieces.
Parts needed: Porch Support (x2)
Step 5
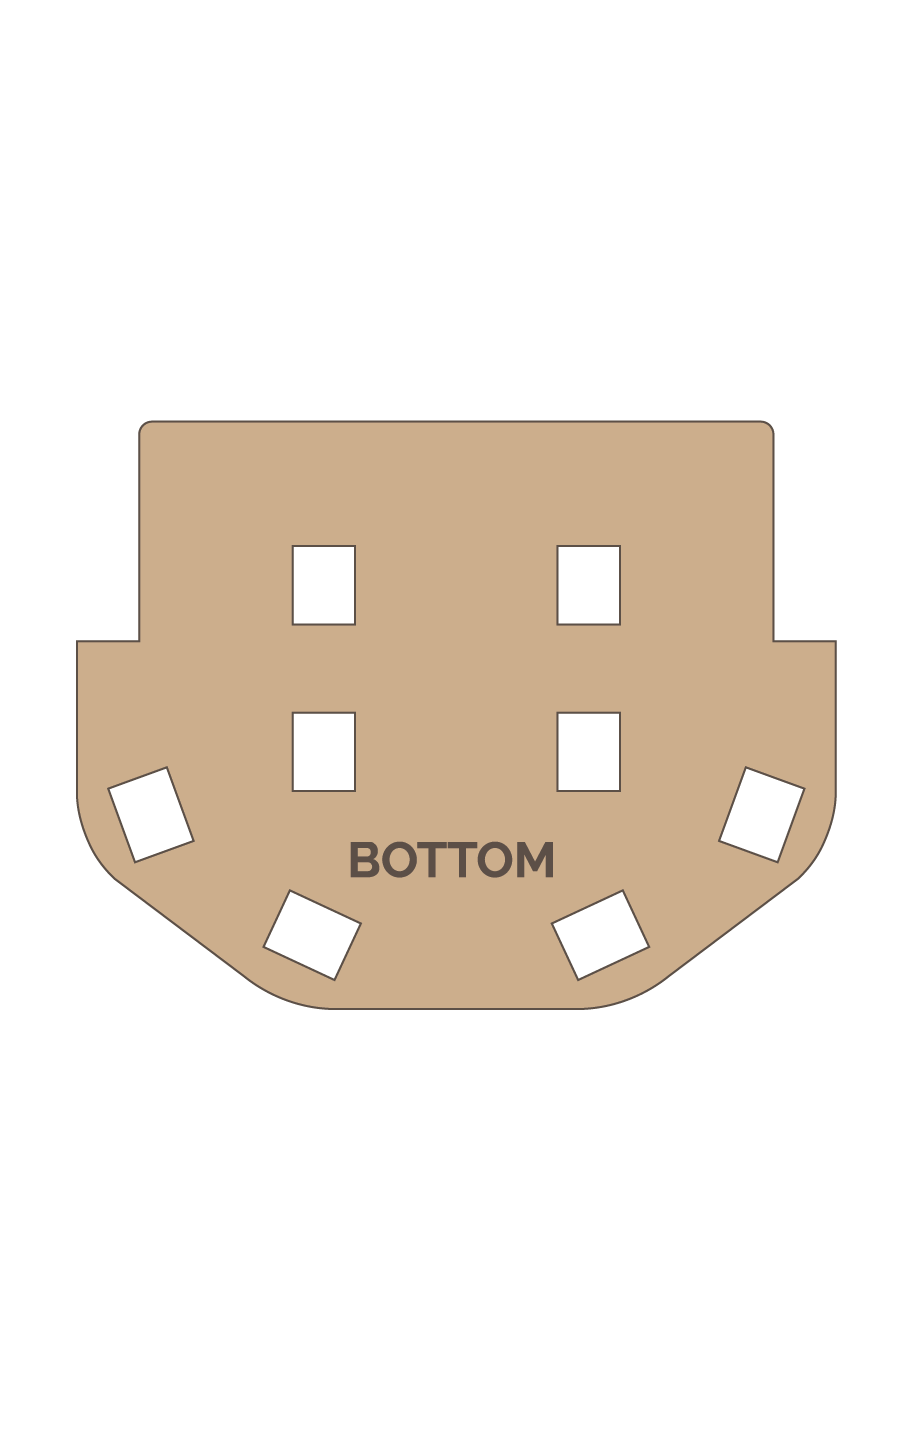
Snap the Bottom Porch onto the bottom of the porch support pieces. The word ‘Bottom’ should be facing down. It’s OK if it feels a little loose for now.
Parts needed: Bottom Porch
Step 6
Slide the Top Porch into the slots of the porch support pieces.
Parts needed: Top Porch
Step 7
Slide the two Small Front Porch Walls in between the porch support pieces. The one with the engraved lines should be in the front.
Parts needed: Small Front Porch Wall (x2)

Step 8
Snap the two Small Porch Roof pieces into place. Be sure to orient them like you see here.
Parts needed: Small Porch Roof (x2)
Step 9
Slide the four Stone Columns through the top porch. Then snap them into place in the bottom porch.
Parts needed: Stone Columns (x4)
Step 10
Snap the four Side Roof pieces into place. Each one has a small tab that inserts into the large side wall first.
Parts needed: Side Roof (x4)

Step 11
Snap the two Center Roof pieces into place. The holes are different sizes to ensure correct orientation.
Parts needed: Center Roof (x2)